

CSV
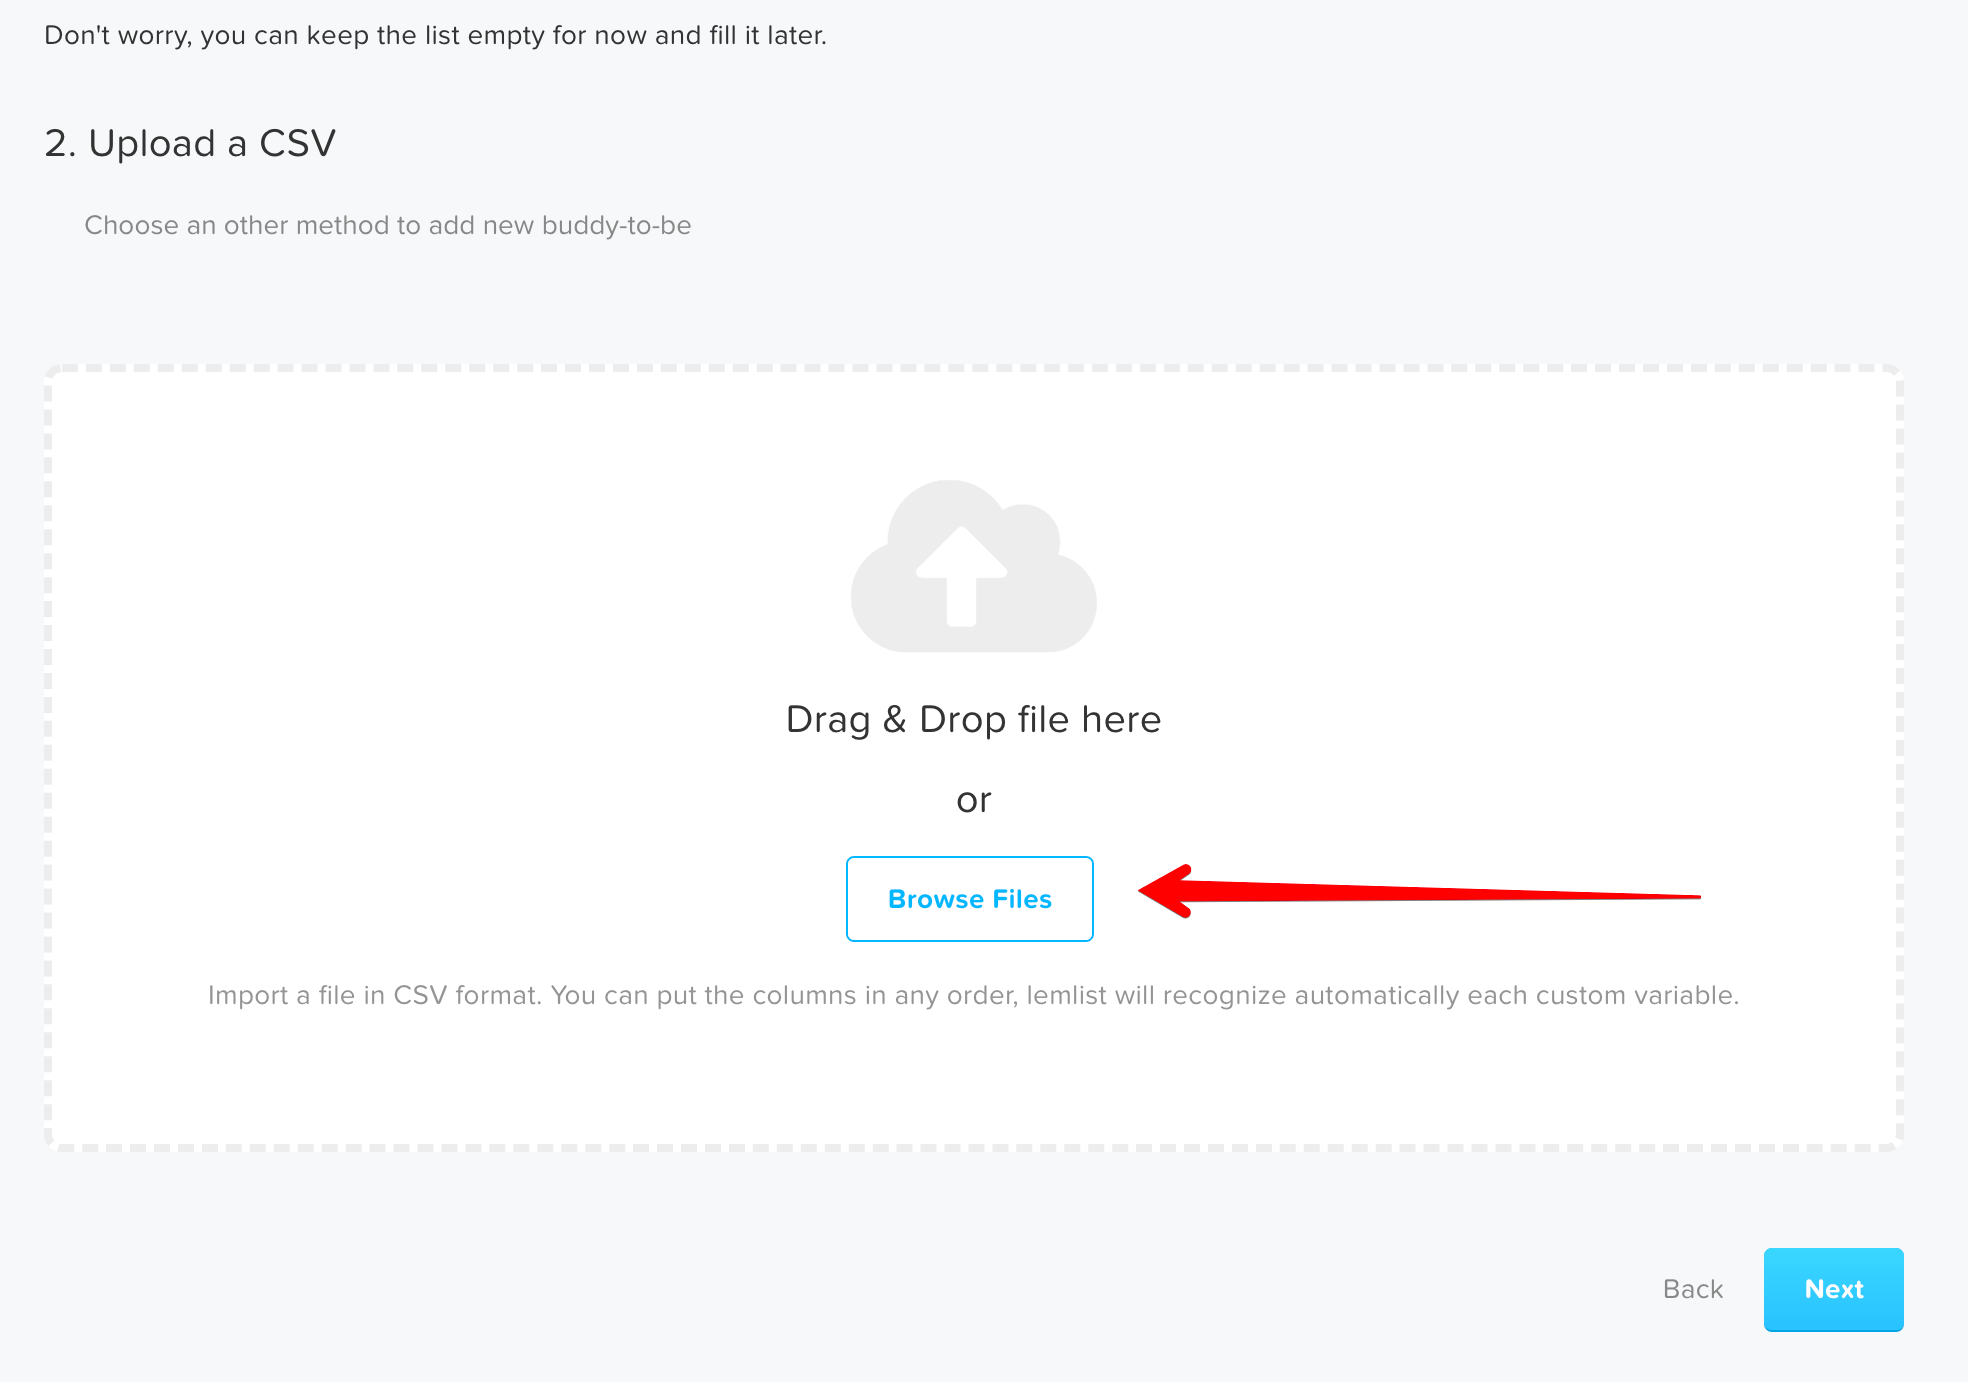
This is one of the most common & easiest ways of adding people to your campaign. Just create a sheet with different fields (like Name, Email & Company) and save/download it as a CSV. You need not worry about the name of the columns as some other tools like Vocus. Lemlist will automatically detect it for you.
Irrespective of if you have named the column or not, Lemlist gives you the option of naming the fields as:
1. First Name
2. Company Name
3. Picture (Yes you heard it right, more on this later)
Also you have the flexibility of custom naming your fields too incase you don’t find a suitable predefined one in the list.
Paste your Emails
You also have the option to copy/paste the emails. So incase you don’t require any details apart from from the email, this is easiest way to add people to your campaign. You also need not worry about duplicate emails, Lemlist automatically removes any duplicate email addresses, if any.
Import from an existing Campaign

You can also easily import contacts from an old campaign. You can also import the email on the basis of these :
– Opened your Email
– Clicked on your Email
– Replied
– Not Opened/Replied/Clicked
Create a form
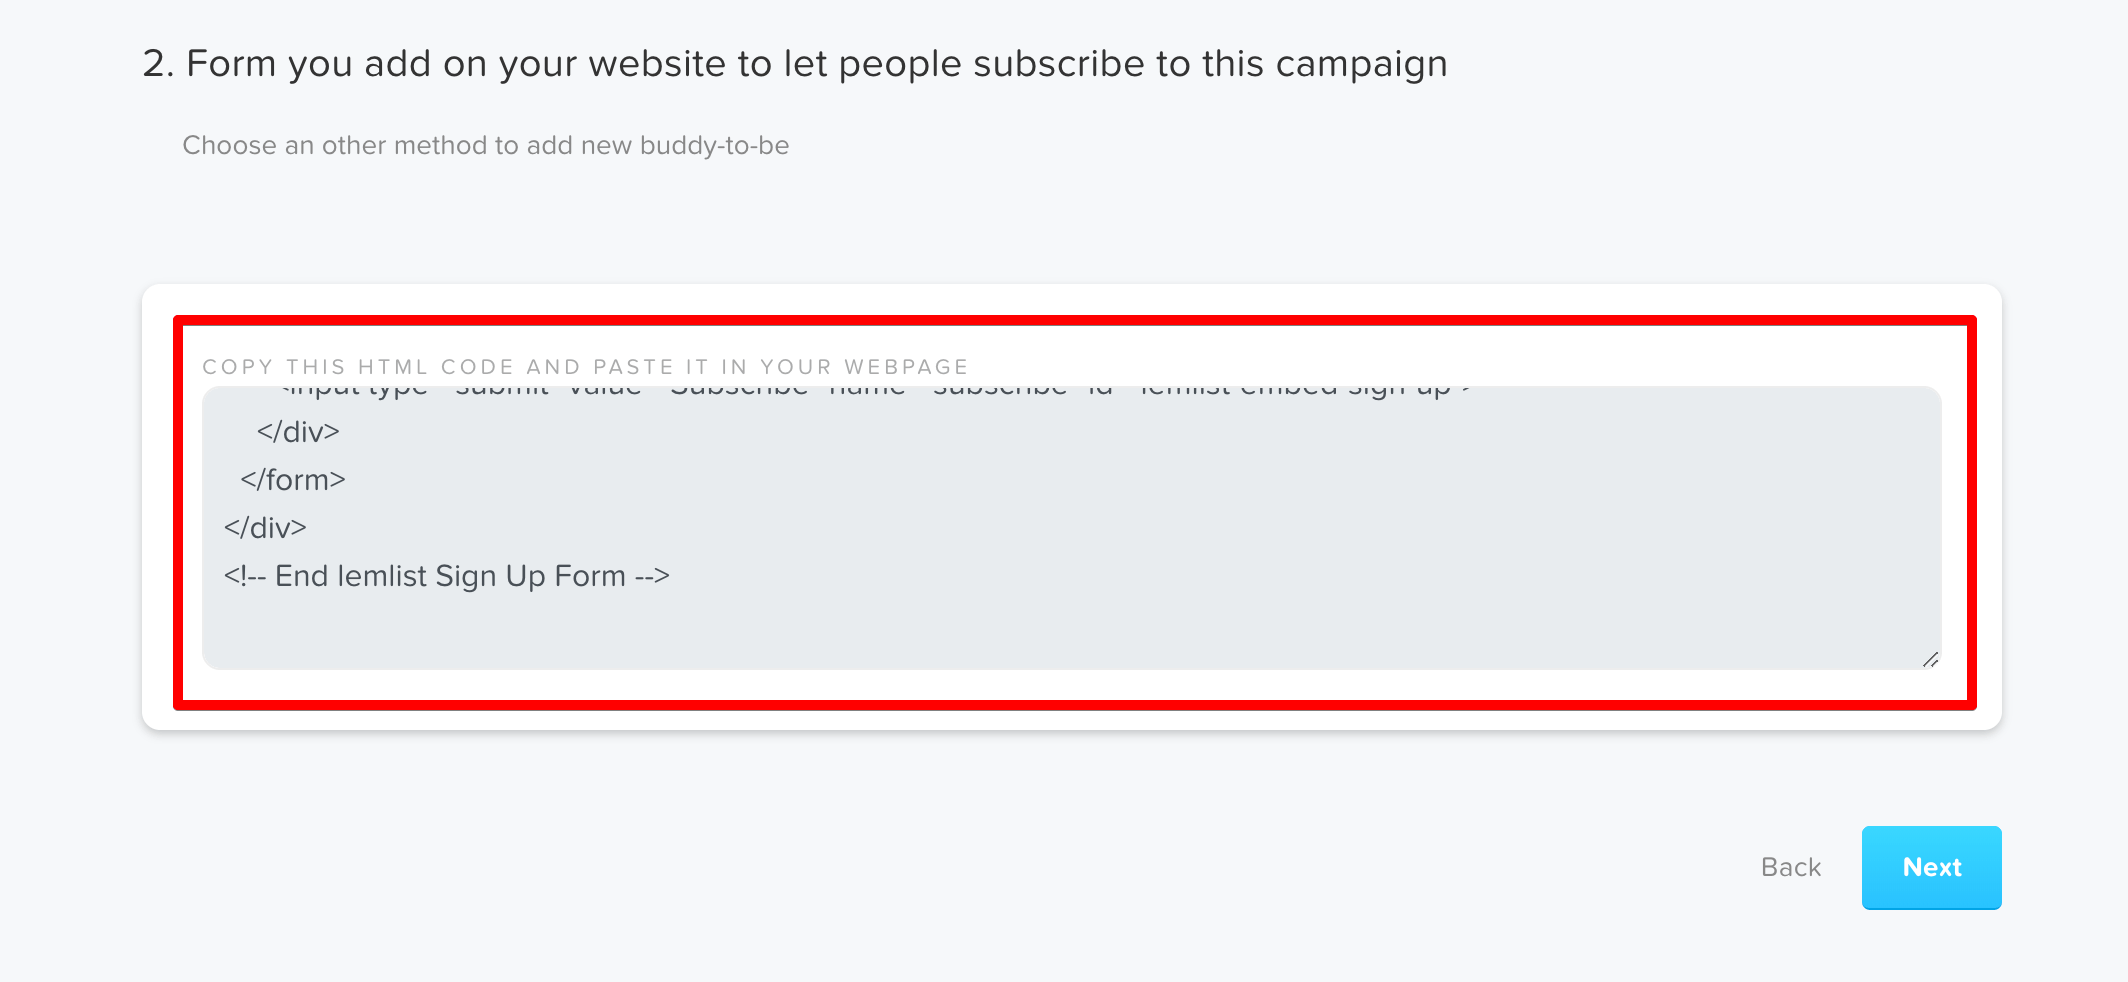
You can also create a form which you can embed on your webpage to add people to your list.
While lemlist doesn’t give you the option modifying or editing this form, you can always modify it by yourself incase you know basic HTML.
As soon as you reach this step, you’ll be provided with more than 20+ Email templates. There are templates for :
1. Hiring
2. Webinars
3. Sales
4. Onboarding etc
You can also save your own templates.
Here are some features you get with the editor :
1. Custom Variables
Custom Variables help take your personalisation to another level. The variable name is same as field name you must have selected in the previous steps.
You can not only you could use variables in the Body of the message but also in the Subject line.
2. Text Editing options
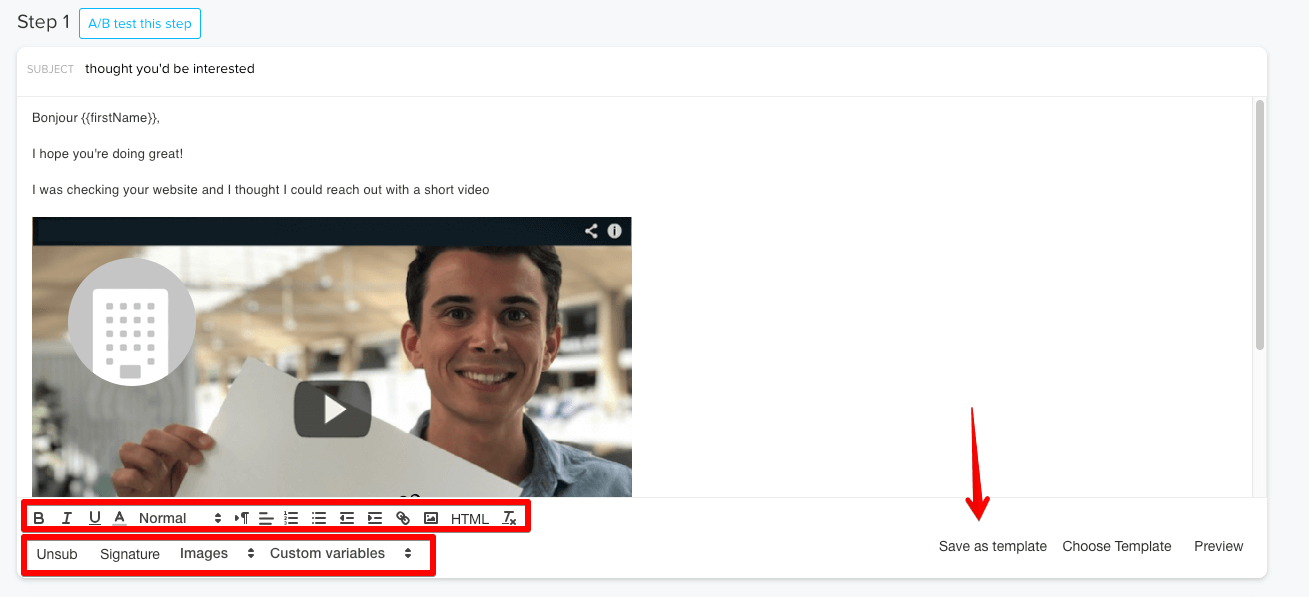
You get the same basic text editing features you get from Gmail and other similar email tools.
3. Unsub
So according to Email Laws you need to have a link to opt out of the email service. This is mandatory. So using Lemlist you can easily add an unsubscribe link.
Find the “Unsub” button in the bottom shown in the image above.
4. Customisable Images
Customisable Images is one of the unique features of Lemlist. This takes personalisation to all together new level.
There are more than 15+ images ready to use already in the app. You can easily edit those images as well.
Here’s an example of one image :
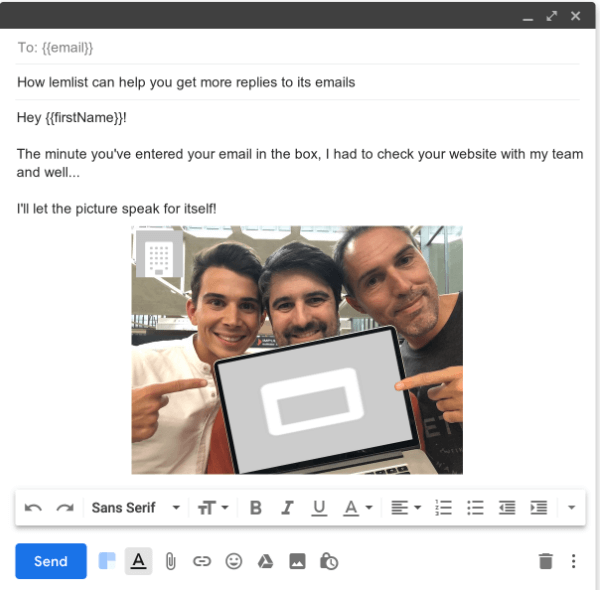
So in the above image, the screenshot of the users site is automatically placed on the image (embedded on email). It’s amazing, isn’t it.
This helps add a personal touch.
5. A/B split test
Are you obsessed with results?
You can now A/B split test your emails to see which one is better performing one.
6. Follow ups
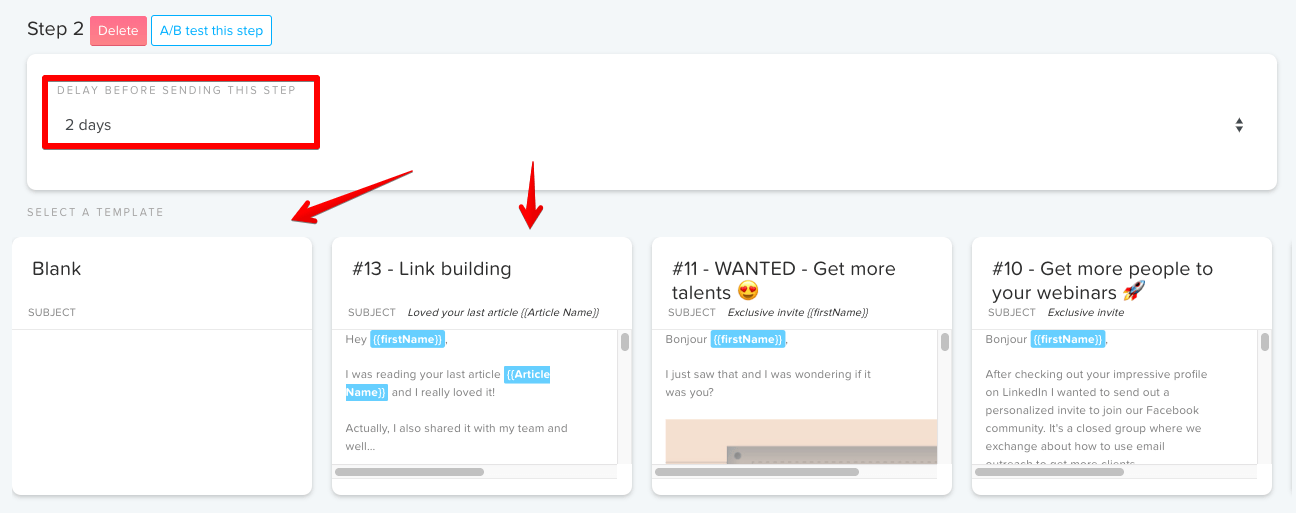
You can schedule unlimited follow ups to your email. You can also personalise these emails in the same way as you did with your first email.
Surprisingly you can also A/B test on follow ups.
“There’s no end to follow ups until you get an reply” – Steli Efti, Founder of Close.io
There are couple of apps that can be integrated to Lemlist for automation through Zapier.
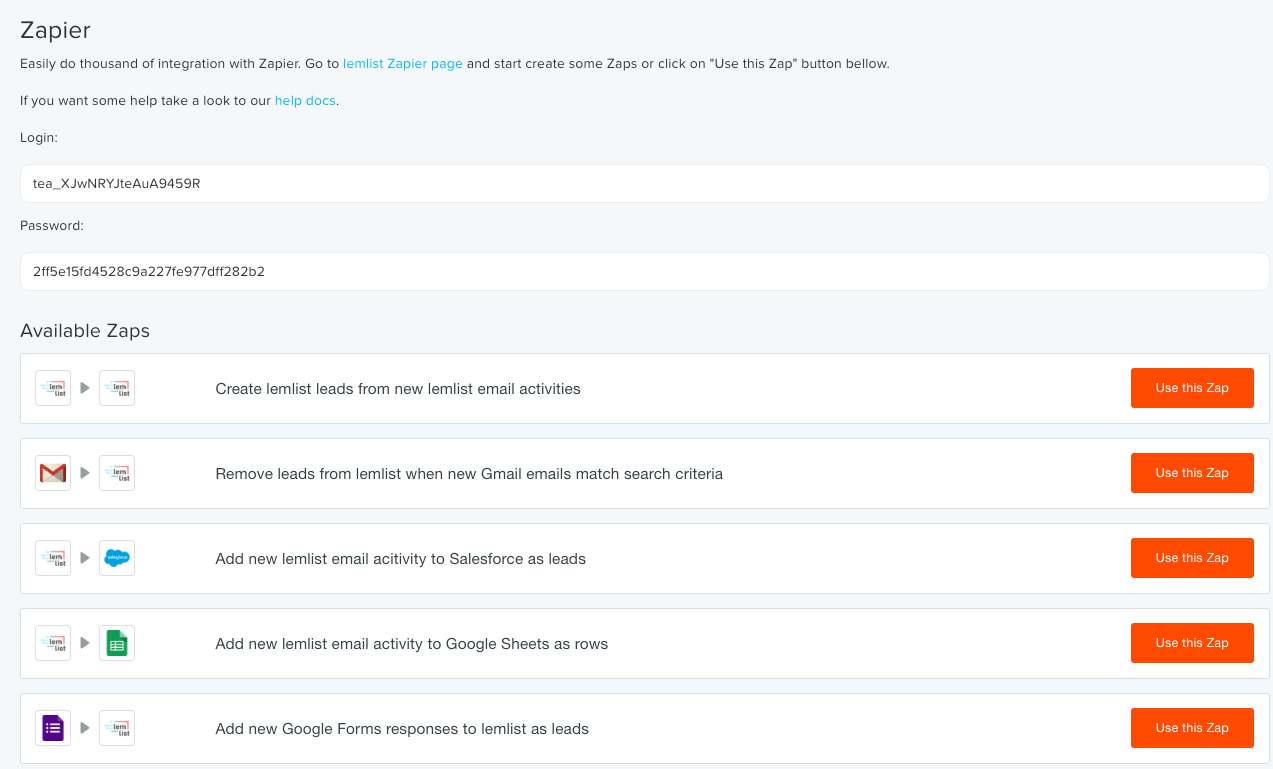
They are :
- Google Forms
- Google Sheets
- Gmail
- Pipedrive etc
You can easily use the API key to authorise the applications.
To know more check here – https://zapier.com/apps/lemlist/integrations
Mailshake by Sujan Patel is one of the best tools in the email outreach space. In many areas better than Lemlist.
Mailshake was launched in Dec 2016. It has more than 1400+ upvotes on Product Hunt.
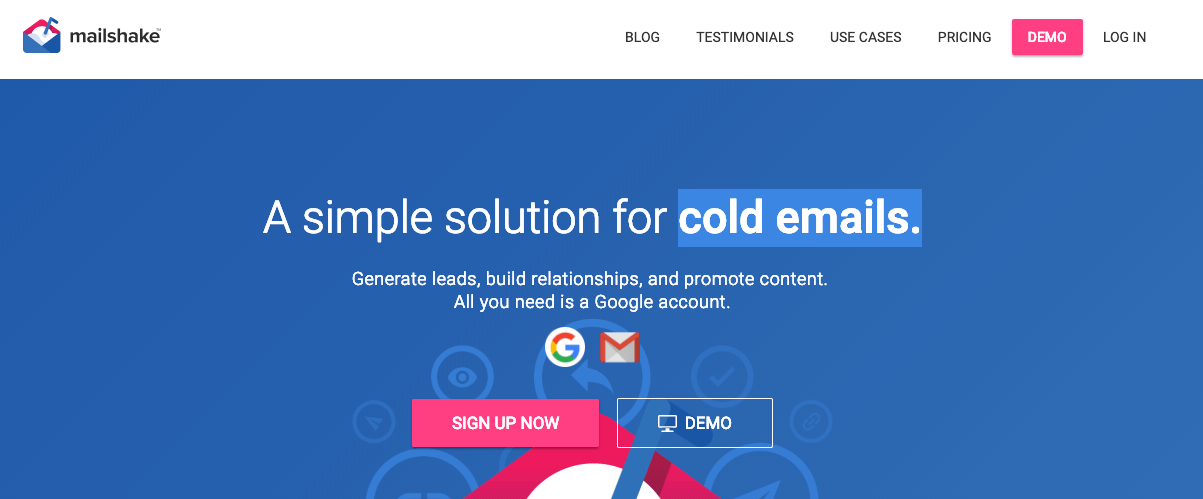
People still miss the Mailshake Appsumo deal. Just imagine buying this tool for 49$/month now which would have costed you the same for lifetime.
So, let’s see how Mailshake stacks up with Lemlist.
So there are many features are common in both Lemist and Mailshake. Things like the campaign monitoring, Lead Catcher (Opportunities in Lemlist) & setting up the time, email limit rate etc.
One thing you won’t find in Mailshake is Image Personalisation. But is it a game changer ? I don’t think so.
Pricing
Mailshake starts at 39$/month to 49$/month
Lemlist on the other hand starts at 19$/month and goes upto 500$/month (Video Personalisation)
With Lemlist you have a 14 days trial option to see if the tool is really worth.
Overall Lemlist is the more affordable option but obviously it is not the best. But if you are someone who is a beginner I would still recommend Lemlist.
Mailchimp is one of the best tools online for email marketing. The value prop of both tools are very different.
Lemlist however is made by keeping email outreach in mind & not overall email marketing.
Buzzstream is one of the best tools when it comes to outreach. The main advantage being you can directly search prospects from their dashboard. Also, you could easily add a prospect using their Chrome extension.
Buzzstream has a great advantage when it comes to prospecting. I think there’s no other tool which has this feature apart from Ninja Outreach.
These tools helps you get rid of spreadsheets as you could directly add prospects to campaigns using their extension. It also lets find you details like the Email ID, Facebook page etc from the website url. This means you need not use third party tools like Email Hunter etc.
This makes the process more streamlined.
Overall Buzzstream is a better tool thought it also lacks Image personalisation.
Vocus is the least popular tool on our comparison list. It is very simple tool which is more of like an add-on to Gmail.
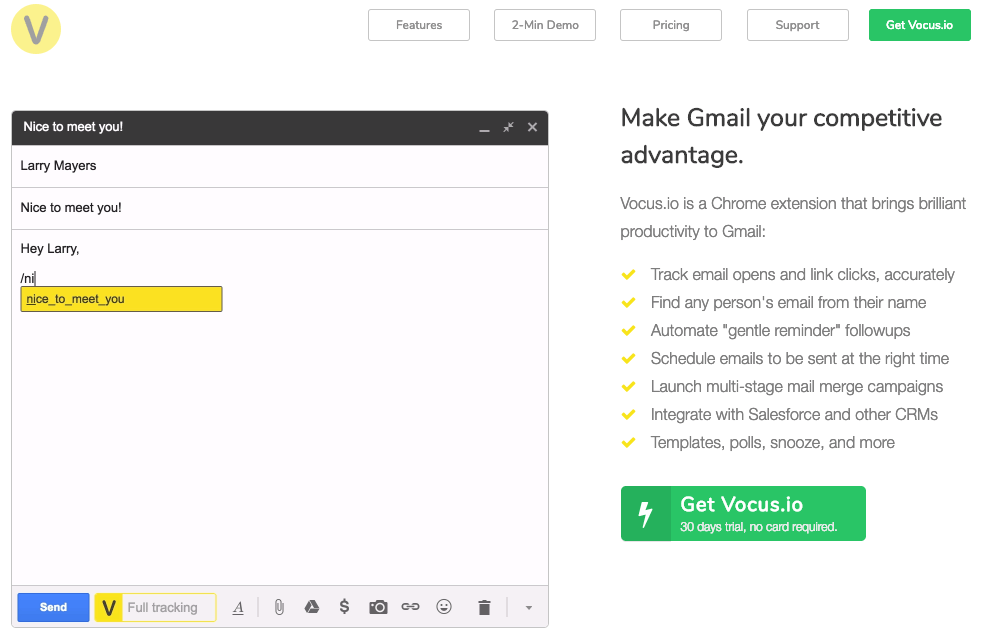
Vocus helps you with :
1. Mail Merge – Send to multiple contacts in one single click.
2. Email Tracking – Similar to Lemlist, it allows tracking of email opens and clicks.
3. Scheduling – You can schedule your email campaign
Other features includes CRM Integration, Personalised attachments etc.
The best part about Vocus is the price. It starts at 5$ a month and goes upto 20$ a month.
Note: The mail merge feature is not on the 5$/month plan.
So, if you are not looking for a lot of features like Image personalisation etc then you are better off buying Vocus.io.
NinjaOutreach is another great email outreaching tool online. Similar to Buzzstream you can easily find prospects just by typing in your niche (example – Fitness). Not only does it show the email and the website but it also shows things their social media profiles and the website’s data (like DA, Page authority, traffic etc.)
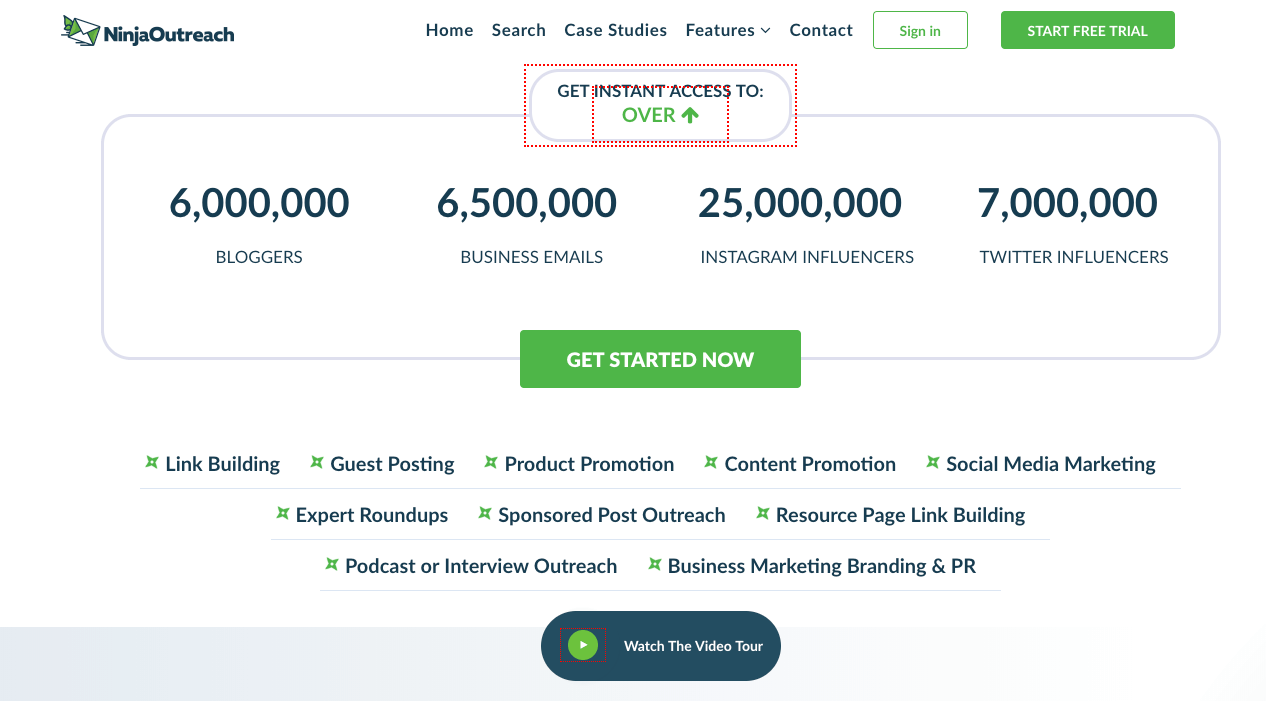
Ninja Outreach is more tailored to Link Building, Product promotion, Influencer outreach and Guest posting.
Whereas you could do these using Lemlist also but NinjaOutreach makes the process very easy and simplified.
The price starts at 99$/month. I feel the vale prop of both tools are little different. If you are a beginner I would recommend you to go with Lemlist first before opting for tools like Ninja Outreach. But if you are a more experienced folk and you just want the tool for building links and PR outreach I’d recommend NinjaOutreach.
FunnelBake and Lemlist was launched around the same time solving a common problem personlised cold outreach. You’ll see a lot of comparison videos floating around the internet showing the comparison of these tools. Both the tools are tailored towards personalisation.
Lately a lot of features have been added to FunnelBake like Amazon SES integration, Lead scraper etc. If you talk about automation, FunnelBake is way ahead.
The price of FunnelBake starts at 29$ a month.
Gmass is another great tool for mail merge. Similar to Vocus this an addon to your Gmail account. In the free version you can send 50 emails per day and the paid plan starts at 6.95$ and goes upto 12.95$.
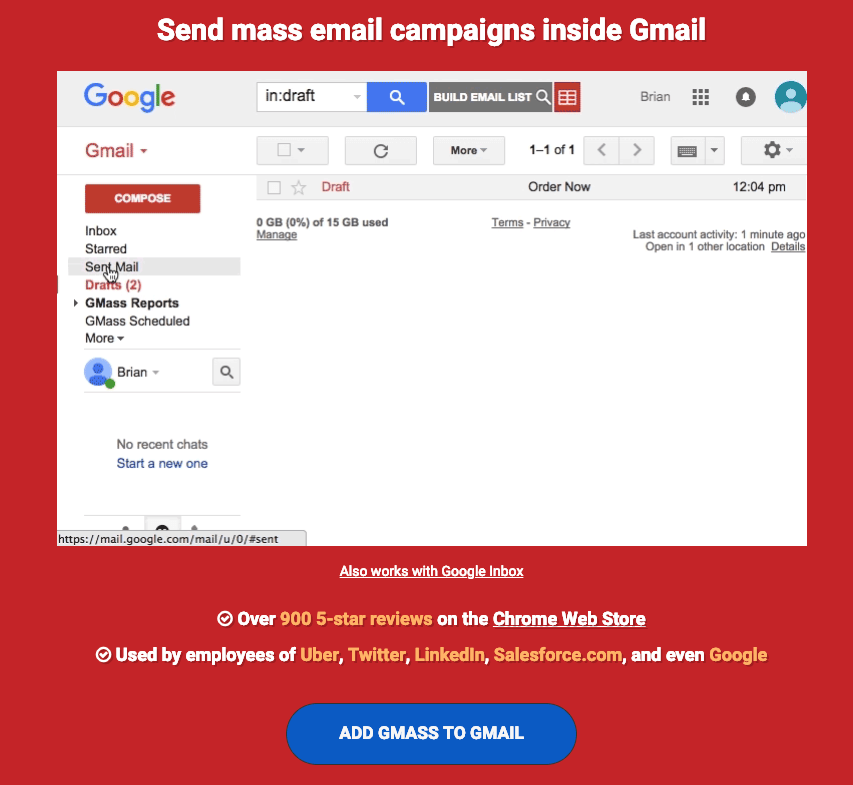
Gmass also has some inbuilt features like personalisation and mail tracking (clicks and opens). You can also set time between two emails.
Overall there are a lot of features in Gmass similar to Lemlist but it lacks Image and Video personalisation. Also, Lemlist provides you with a complete dashboard where you could easily track all the campaigns and responses while Gmass doesn’t.
Nice work with this post, Himanshu! Another huge fan of Lemlist right here 🙂